Getting started
Install it
| Your computer | How |
|---|---|
| A Mac (Apple Silicon or Intel) with macOS 12 or newer, Windows 10 or 11, or 64-bit Linux | Download the installer from the Releases page and open it: on Linux the AppImage (any distribution) or the .deb (Ubuntu, Debian, Mint), the amd64/x86_64 one for most computers and the arm64/aarch64 one for ARM (a Raspberry Pi, a Linux VM on an Apple Silicon Mac; Ubuntu 24.04, Debian 13 or newer). Step by step, including the one-time security warning: desktop app guide |
| ARM Linux older than 2024, or if you prefer Python | Run it from source |
| A NAS or home server, always on | Docker or the NAS guide |
On a Mac you can also install it with one command in Terminal, which checks the download for you and skips the first-open warning:
bash -c "$(curl -fsSL https://raw.githubusercontent.com/jessn-dev/jobDork/main/packaging/install-mac.sh)"
Every way works the same once it is open: this guide is about the app itself. The ways to run it, side by side, are in docs/run.
Setup: six short steps
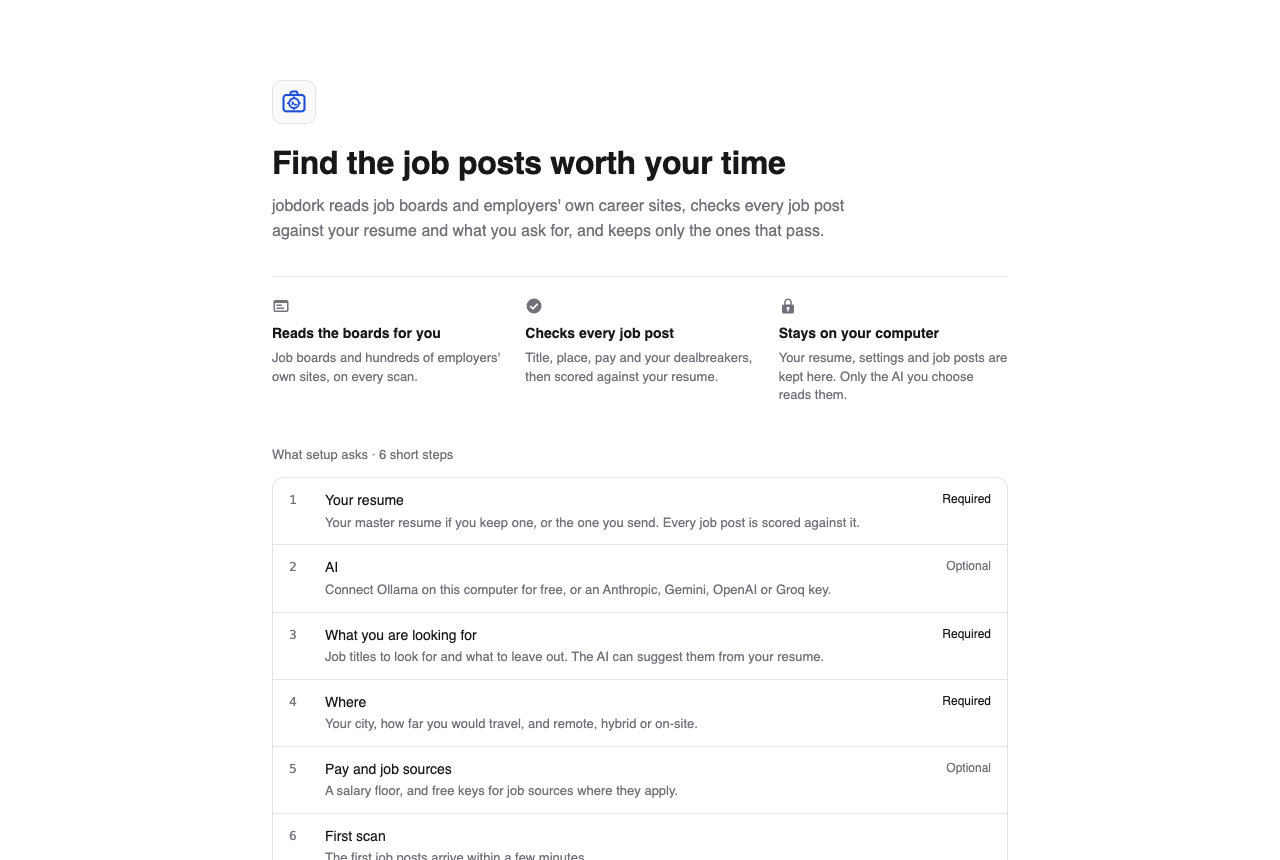
The first time it opens, jobdork shows Find the job posts worth your time and asks a few questions, one per screen: Continue goes on, Previous goes back. Each answer is saved as you go: if you close it halfway, it comes back to the same step.
On the first page, Your keys asks where the keys you enter go: asked for each time jobdork starts (the default), or kept in your computer's keychain so you enter each once (Your keys).
- Your resume (required). A PDF, Word (
.docx), Markdown or text file. Every job post is scored against it. It stays on your computer. If you keep a master resume, the archive of everything you have done, upload that; otherwise the one you send. - AI (optional). Connect Ollama, a free AI that runs on your own computer, paste a key for Anthropic, Gemini, OpenAI or Groq, or choose Coding agent to have Claude Code, Codex, Antigravity CLI or Cursor do the writing (how). Skip for now leaves it for later, on the AI page. jobdork works without it; the AI adds a second opinion and writing help.
- What you are looking for (required). Under Job titles to search for, the titles to find, and any to leave out. With AI set up, it suggests titles from your resume. You can also pick the kinds of employers and add dealbreakers.
- Where (required). Only your country is required. Then, if you like, Add states and cities, as many as you want: posts anywhere in a state you add are kept, and posts within your radius of a city you add. Add none and posts from the whole country are kept. Then how far you would travel, and whether you want remote, hybrid or on-site work.
- Pay and job sources (optional). The lowest yearly pay you would take: only a post that states lower pay is hidden (see the salary floor). Two job sources need a free key, Adzuna and USAJOBS (US federal jobs); add them here if you want them, or later on Sources. What will be searched lists every source the scan will read.
- First scan. One last question, How old a job post do you still want to see? (older posts are hidden, never deleted; change it any time in Job posts).
Setup ends with Start the first scan, and the Dashboard opens. A note at the top says which part is running:
- Quick scan: the job sites and a few employer boards. The first job posts arrive under Job posts within a few minutes.
- Full scan started: the rest of the employer boards, read in the background. Job posts keep arriving, and you can use everything else meanwhile.
When the full scan ends, the note says Your job posts are ready, with View job posts, and Dismiss to close the note. Your computer says so too, with notifications on, even if you closed the jobdork window while it ran.